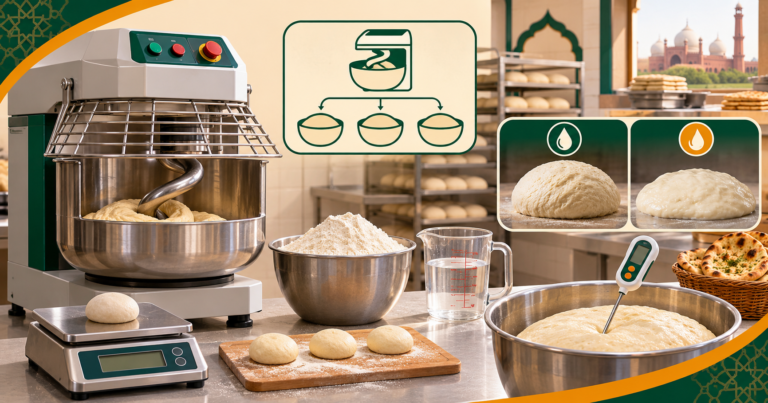
Dough mixer capacity changes with hydration, flour strength, ingredient temperature, ice, fat, mixing speed, attachment, and dough type. Total bowl volume or motor power alone cannot define the batch. Model-specific capacity charts and controlled recipe trials provide the safer operating range.
Start With the Model-Specific Capacity Chart
Record mixer manufacturer, model, bowl, agitator or spiral, guard, and the current manual. Find the product-capacity chart for that exact machine.
Capacity charts commonly separate bread dough, pizza dough, pastry, and other products. Do not copy a dough weight from another model or use total bowl liters as the limit.
The Dough Mixer Batch Capacity Calculator handles batch arithmetic after you establish the approved machine and recipe limits.
Calculate and Record the Absorption Ratio
Hobart defines absorption ratio as water weight divided by flour weight. Multiply by 100 to express it as a percentage. Use weight, not volume, for both values.
For example, 6 kilograms of water divided by 10 kilograms of flour gives 60 percent absorption. Record the water included in relevant liquid ingredients according to the manufacturer’s chart instructions.
Lower-absorption dough is usually stiffer and can require a smaller batch. Use the chart’s rule instead of inventing a universal reduction.
Record Flour Type, Temperature, Ice, and Additions
High-gluten flour, cold ingredients, ice, fat, sugar, seeds, and inclusions can change dough resistance. Commercial capacity charts may call for reductions under specific conditions.
Record flour brand and type, flour temperature, water temperature, ice weight, room temperature, and ingredient additions. Keep the recipe and starting conditions consistent between trials.
A batch that works on a cool day may behave differently with warmer flour or a changed supplier. These details explain the result.
Follow Attachment, Speed, and Time Limits
Use only the attachment and speed sequence allowed by the manufacturer for the dough type. Some mixers restrict heavy dough to a low speed or define a maximum time.
Record loading order, speed, time, pauses, scrape stops, and any automatic cycle. Never raise speed to compensate for a batch that does not develop normally.
Stop the trial for abnormal noise, movement, repeated overload protection, unstable bowl position, or another condition named by the manual.
Judge Dough Development and Final Temperature
Set recipe-specific checks such as incorporation, elasticity, extensibility, surface, windowpane where appropriate, final dough temperature, and finished dough weight. A completed timer does not prove a good mix.
Sample the dough from more than one area. Record dry pockets, hot spots, tearing, smearing, or uneven inclusions.
Compare the result with a known acceptable batch. The capacity standard should protect product quality as well as equipment operation.
Plan Multiple Batches When the Limit Is Lower
If the chart or trial requires a smaller batch, calculate the number of cycles, staging space, labor, proof timing, and downstream capacity. Do not overload the mixer to preserve a schedule.
Label batches so staff can track mix start, final temperature, dough weight, and the next process. A clear batch sequence prevents one delayed load from being mixed with another.
Review the standard after flour, formula, mixer, attachment, or room conditions change. Keep failed trials as evidence of the boundary.
Avoid Common Dough Mixer Capacity Errors
- Using bowl volume: follow the model chart.
- Ignoring hydration: calculate absorption by weight.
- Skipping temperature: record ingredients and final dough.
- Changing speed: follow the approved sequence.
- Judging motor noise only: inspect dough quality.
Approve a repeatable range for each dough type, not one maximum for every recipe.
Build a Repeatable Equipment Test Record
Use the downloadable CSV for at least three trials with the same equipment, recipe, and method. Record planned settings, actual measurements, staff observations, failures, corrections, usable yield, and the final decision.
Change one factor at a time when possible. If the recipe, load, attachment, rack, heat setting, and timing all change together, the team cannot tell which change caused the result.
Keep failed trials. They show the boundary that should not be repeated and explain why the approved operating level may be lower than a printed maximum.
Name the person who ran the test and the date. Add a photo or loading sketch when it helps another trained staff member repeat the accepted setup.
Write the final standard as a range when normal product variation matters. A single exact number can imply more precision than the food or equipment supports.
Review the record after any change to the model, recipe, ingredient, attachment, utensil, or service method. Capacity belongs to a defined setup, not every item that looks similar.
Download the Equipment Test Worksheet
Open the CSV in a spreadsheet and replace the example row with measurements from your own controlled trial.
Keep the Test Traceable
Record the setup, result, failure, correction, and approved operating standard.
Use the Dough Mixer Batch Capacity Calculator
The Dough Mixer Batch Capacity Calculator performs the matching arithmetic. This article covers the physical trial and operational evidence that a calculator cannot observe.
Calculate With Measured Inputs
Complete a real equipment trial, then enter the verified capacity, load, or yield.
ڈو مکسر کے عام سوالات
ہائیڈریشن کیوں اہم ہے؟
پانی اور آٹے کا تناسب ڈو کی سختی اور مکسر پر بوجھ بدلتا ہے۔
ابزارپشن ریشو کیسے نکالیں؟
پانی کے وزن کو آٹے کے وزن سے تقسیم کریں اور 100 سے ضرب دیں۔
کیا ہر ڈو کا ایک ہی وزن ہو سکتا ہے؟
نہیں۔ آٹے کی قسم، ہائیڈریشن، آئس، چکنائی اور ڈو ٹائپ کے مطابق حد بدلتی ہے۔
اسپیڈ کیسے منتخب کریں؟
اسی ماڈل کی دستی ہدایات اور کپیسٹی چارٹ کی منظور شدہ اسپیڈ استعمال کریں۔
بیچ کم ہو تو کیا کریں؟
اوورلوڈ نہ کریں۔ چھوٹے بیچ، سائیکل، لیبر اور اگلے عمل کا واضح شیڈول بنائیں۔
Sources and Further Reading
Related Kitchen Capacity Guides
More Equipment Capacity Guides

Author and Founder